|
<< Click to Display Table of Contents >> Configuring IO channels |
  
|
|
<< Click to Display Table of Contents >> Configuring IO channels |
  
|
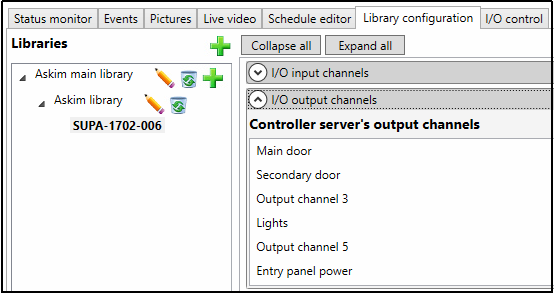
Select a branch library computer to see the I/O settings groups:

IO settings groups in SOL Administrator
You can give the IO channels more meaningfull names here. For example the default for output channels are:
1 - Main door
2 - Second door
4 - Lights
6 - Entry panel power
(Remember that the channel numbering in the actual IO module connector begins from 0 (zero)).

IO channels configured
The entry panel power is not connected directly through a relay by default, it is used as a spare to enable this connection and can be used for something else if needed. In a similar way, the second door is not needed if there is only one door to open.
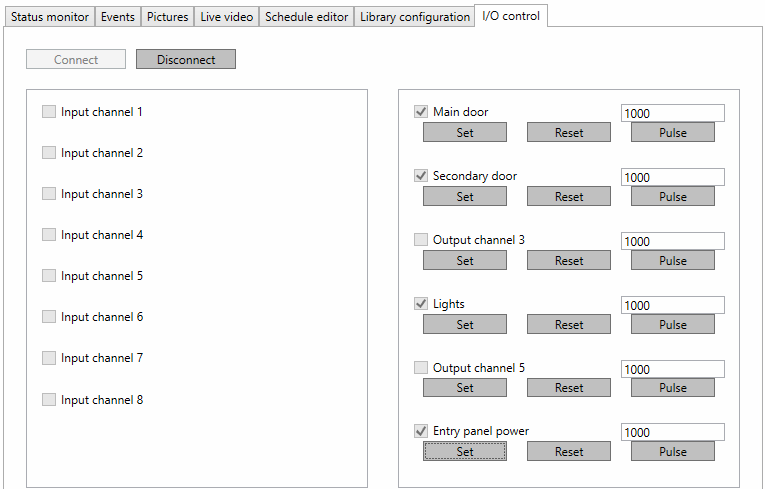
You should now be able to open the I/O control tab and test the IO module. The page looks like this:

IO control testing
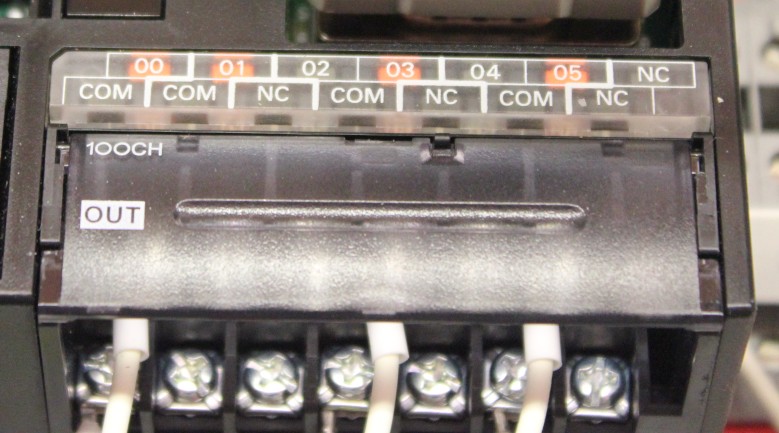
Click on the Connect button first to connect to the IO module, and then click on any Set button - you should see an indicator led light up in the IO module

IO module lights on selected channels
On this picture, the same channels are indicated by the led lights as set in the IO testing page.
If there are any input channels connected, the status of the inputs can also be seen on this page.
Remember to disconnect from the module by clicking the Disconnect button before exiting.